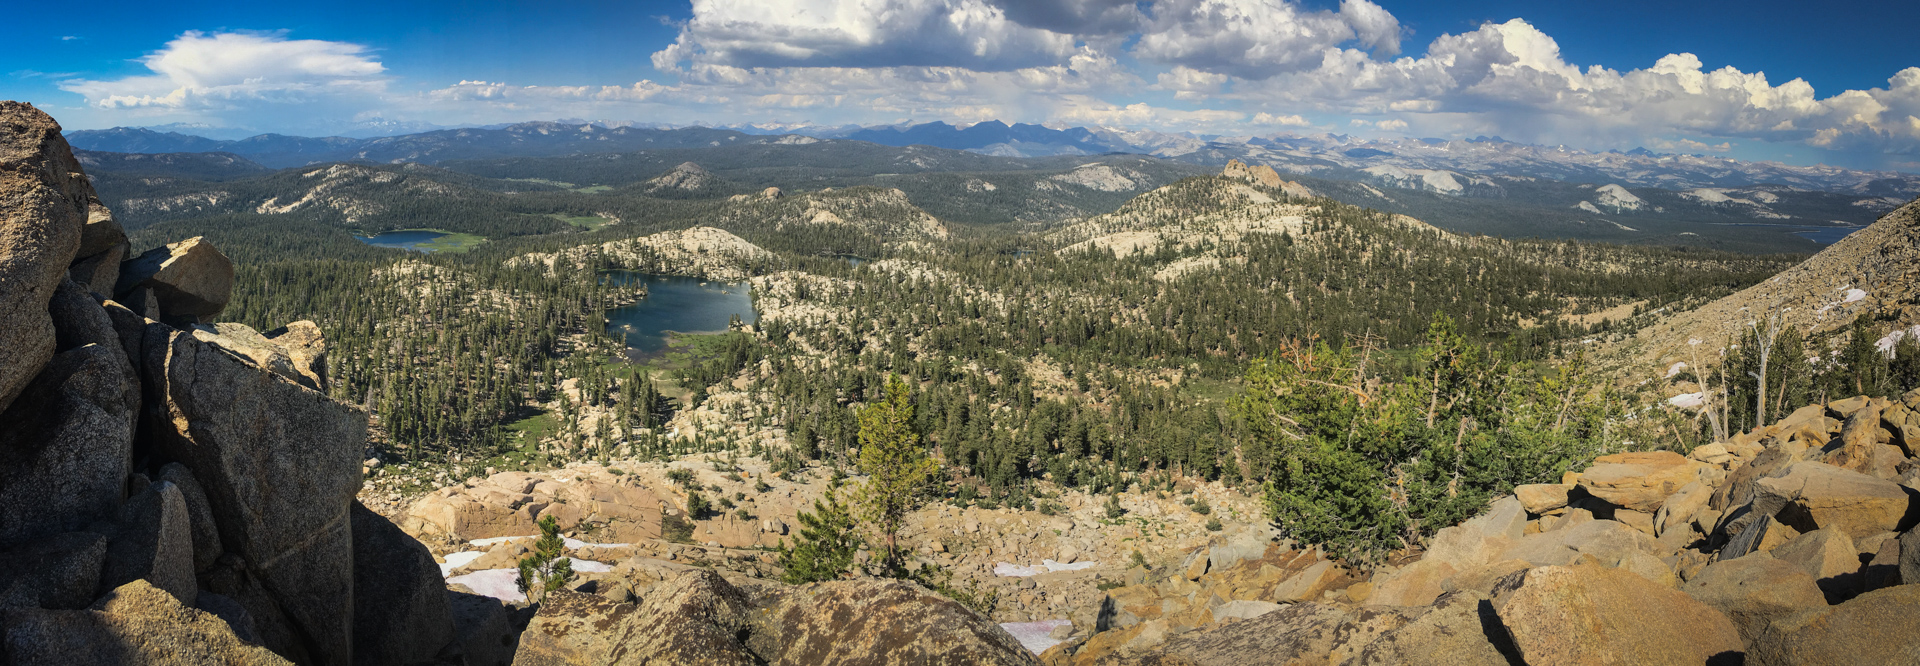
Dinkey Lakes Backpacking Trip
We left Santa Barbara on a Saturday morning at the end of July (7/29/17) and made our drive up. We stopped in Fresno for some amazing Mexican food at Don Pepe’s, grabbed our permit in Prather, then headed off to the Dinkey Lakes trailhead.
Drive to the Dinkey Lakes Trailhead
Getting to the trailhead is definitely part of the adventure with Dinkey Lakes. If you read the reviews, you’ll find plenty of mentions of the terrible roads leading to the trail, and they’re not kidding. There are all kinds of rocks and ruts in the road that you have to navigate, and there are an abundance of wrong turns you can make. All the cars we saw at the trailhead were trucks and SUVs, except for one Hyundai sedan that wins the award for “most ballsy ride”.
I’ve added a section at the end of the post with some notes and tips on getting to the trailhead.
Hike to First Dinkey Lake
For our first day on the trail, we chose to follow the northern side of the loop and camp at First Dinkey Lake.
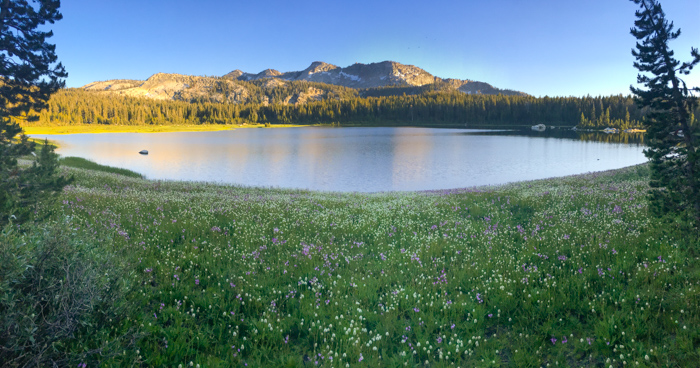
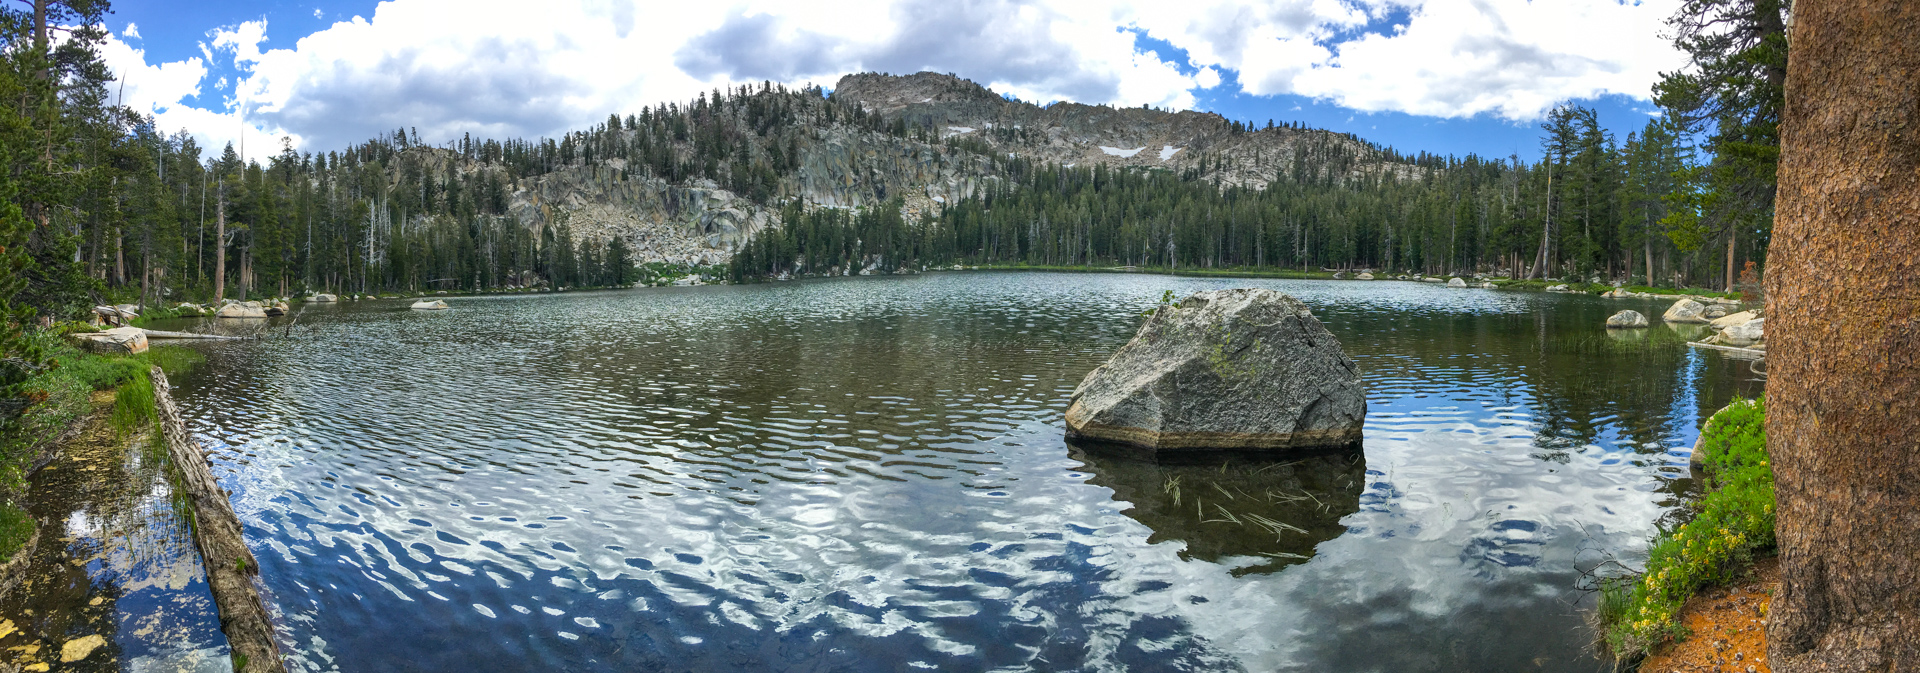
I loved the wild flowers on the shore of First Dinkey, and I’m glad we camped there if only because it meant I could shoot the mountains and the flowers in the early morning light.
This lake had some downsides, though. The campsites are set back a ways from the lake in a more wooded area, so you don’t have the sweeping views of the lake and mountains that you’ll see at other lakes. And with all the rain this year, the shore was rather swampy, so we had to walk a ways down the shore to get to a good spot for reaching the water. The mosquitos were worse here than at Island lake, especially down by the lake edge.
One of the guys made these awesome pizza rolls wrapped in aluminum foil that we baked in the coals of our campfire. Soooo good!
Hike to Island Lake
After packing up camp Sunday morning, we weren’t sure where we wanted to go next–whether to stay on the loop and head to one of the lakes on the south side, or follow an off-shoot trail and get closer to the Three Sisters. We passed a few groups that all recommended Island Lake, and I’m glad we took their advice.
Even though it’s a fairly short hike, we definitely felt the elevation gain.
[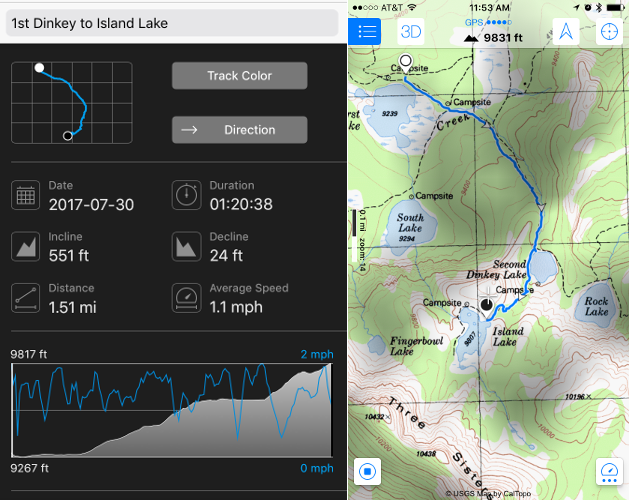 ][island_lake_summary_full]
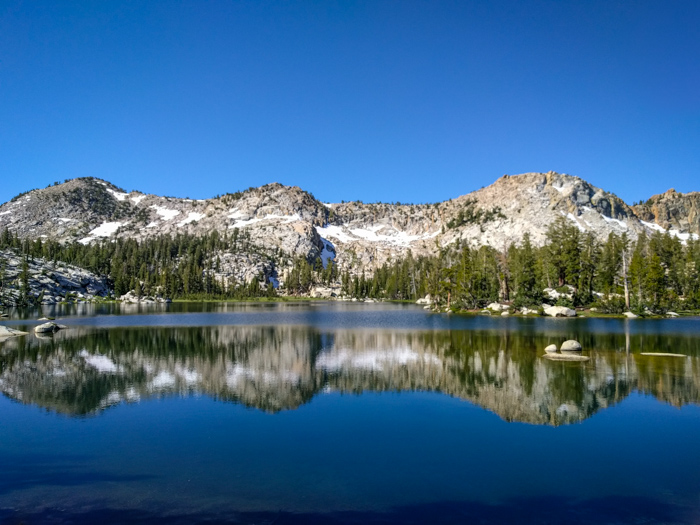
Next to some good conversations over the campfire, swimming between the tiny islands was my favorite experience of the whole trip. The water was pretty cold, but warm enough to swim in it for 10 or 15 minutes.
It was at island lake where we finally realized that my MSR filter needed to be cleaned more often than I would think. When the filter gets clogged, weird things start to happen with the pump–it gets super hard to pump, and you start seeing air in the intake hose. This weird behavior made me suspect an issue with one of the valves or something. Really, though, the filter just needs to be cleaned fairly often–we cleaned the filter with a scouring pad like you’re supposed to and suddenly the pump was as smooth as butter! I didn’t measure how much water we could pump before needing to clean, but I think it was honestly only about 4 litres of water–much less than I would have thought. Maybe it’s the snow melt, picking up minerals from the mountain rock as it makes its way down from the peak? Anyway, I’m glad we figured that out–I’ll never waste energy trying to pump with a clogged filter again!
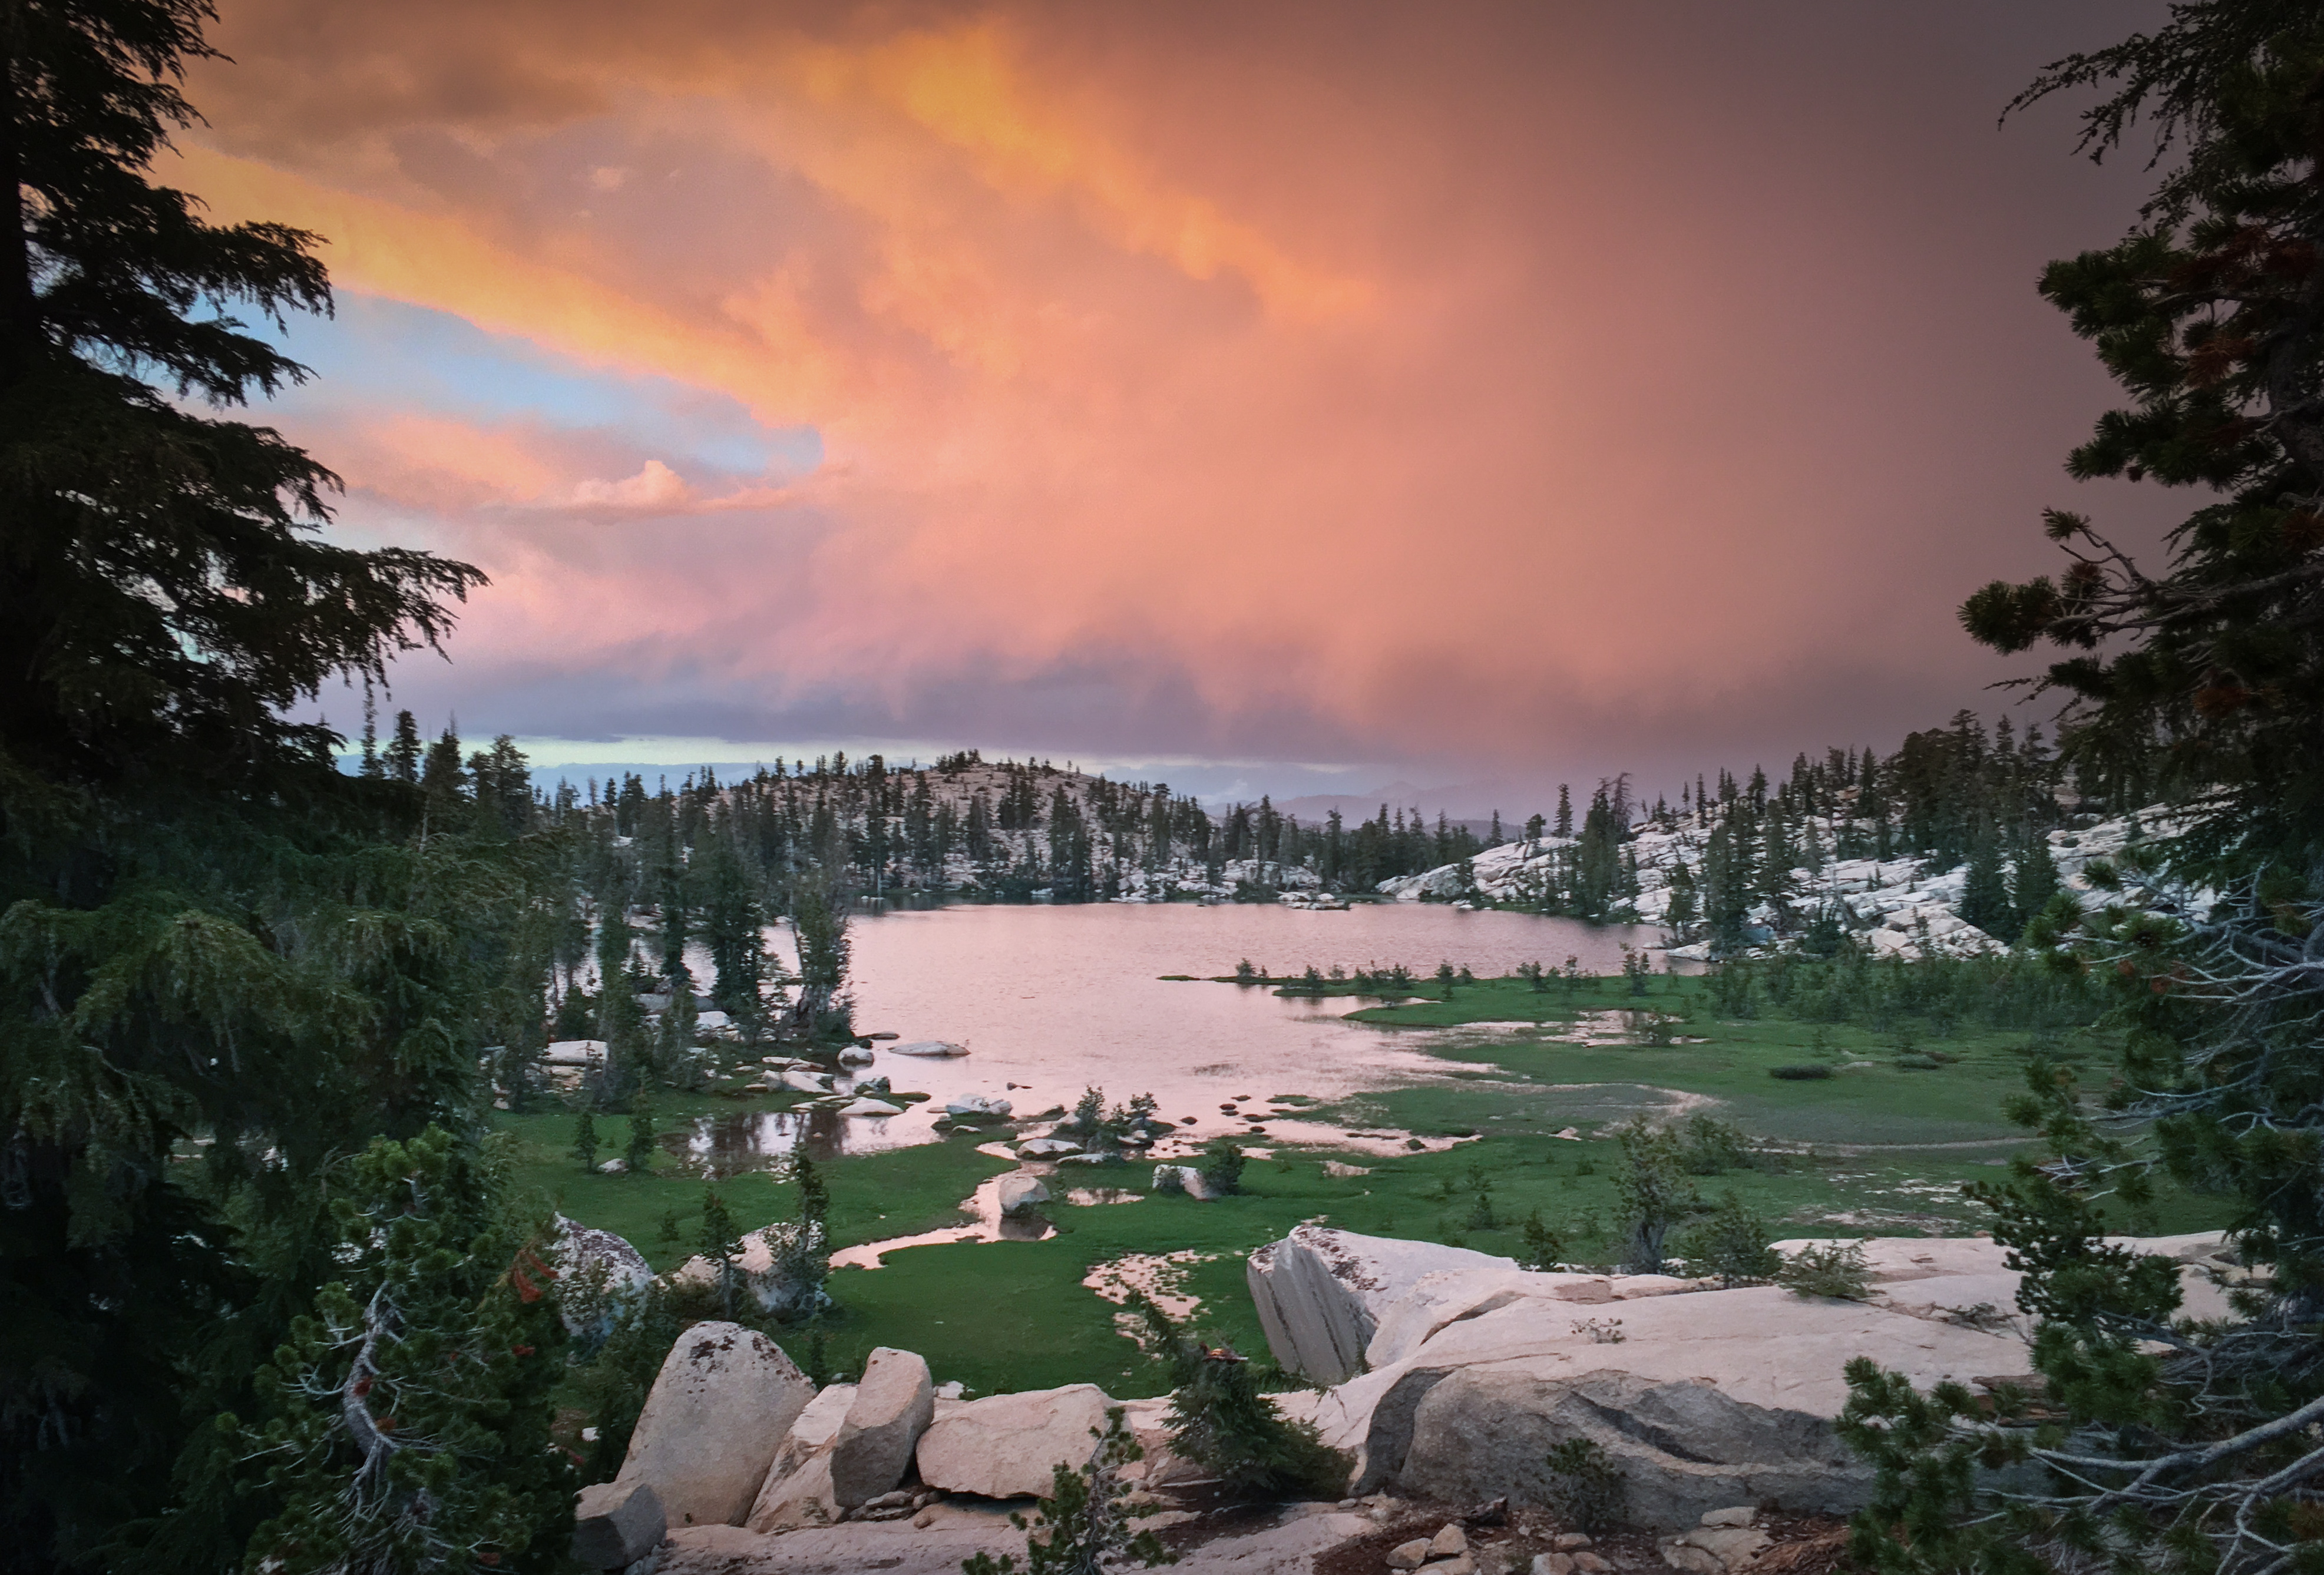
A thunderstorm rolled in that evening (we never saw the lightning, but we heard it!), proving once again that mountain weather is totally unpredictable. We scrambled to protect our gear and dig trenches around our tents (it looked like we were going to get dumped on), but it turned out to only be a little drizzle before it passed us by.
Once the storm had passed, we spent the evening lying on the rock, gazing at the stars, and passing around some Laphroig.
Summit of the middle peak in Three Sisters
One of the things we liked about stopping at Island Lake was that it put us right at the base of the Three Sisters, which we were hoping to summit as a day hike.
We ended up climbing the middle of the Three. The peak is only another 700 feet higher than Island Lake, so it wasn’t too difficult of a climb. The main challenge was finding a good route up.
On our route up the middle Sister, it was mostly just steep hiking, with some occasional bouldering, and then one 10-15ft. pitch that we did have to climb.
The view was pretty spectacular, but the steepness of the mountain top really started to trigger some of my fear of heights, and I was about as glad to be off of it as I was to be on the top :)
Hike out from Island Lake
Monday morning, we returned to the loop and hiked the southern half of the loop back out to the trailhead.
There are some pretty steep switchbacks on the western end of the southern loop–it would be pretty brutal to start on the south side of the loop (rather than the north, like we did).
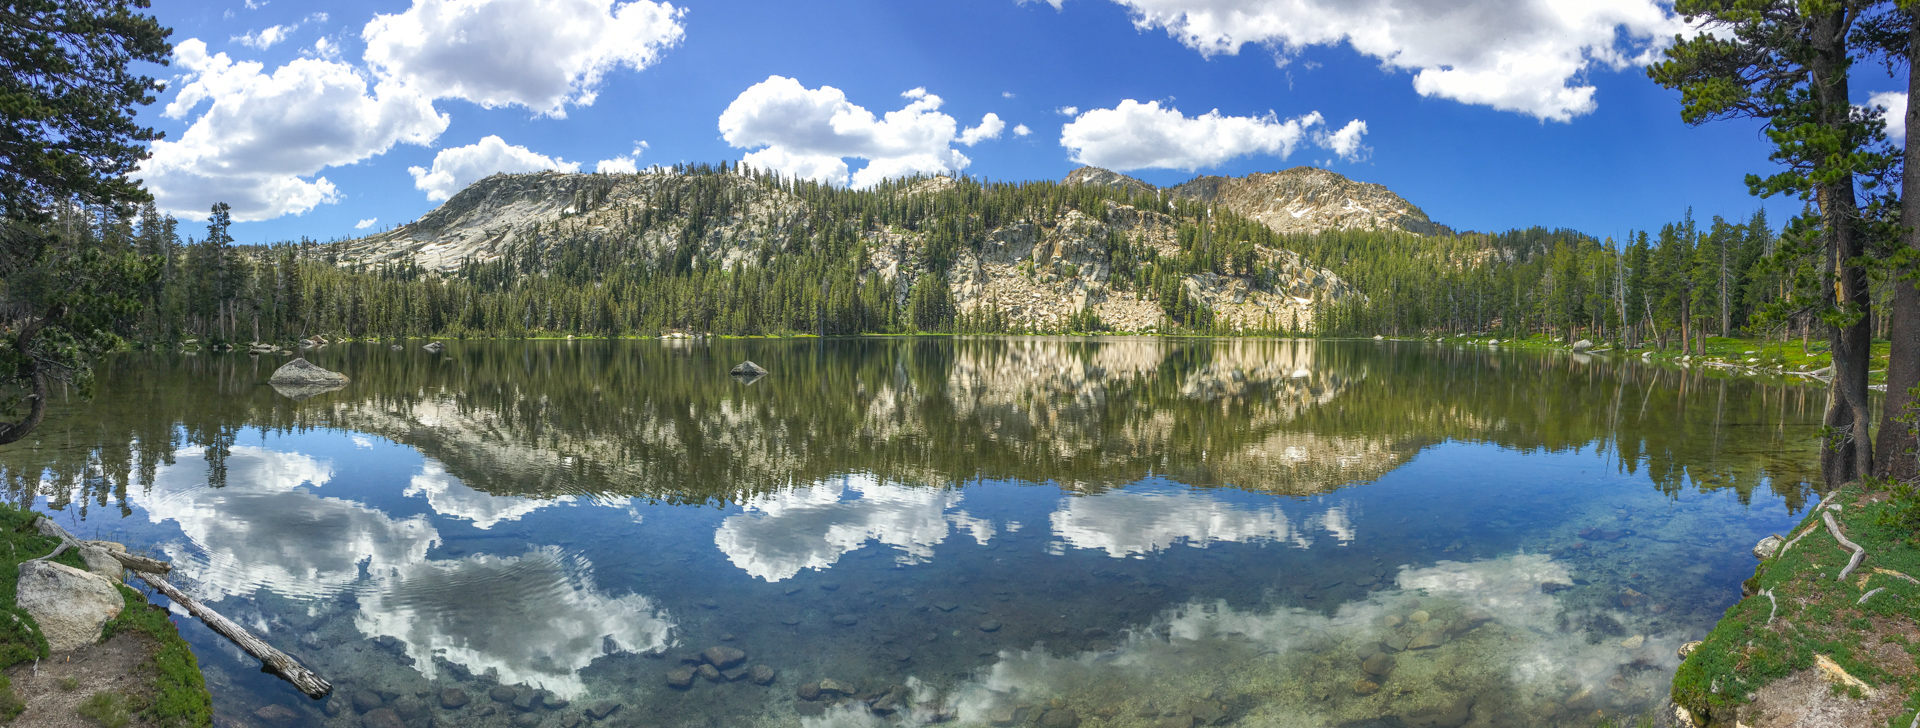
Here’s South Lake on the way out:
Tips for getting to the trailhead
Here are a few notes and suggestions on getting to the trailhead:
- The roads leading to the trailhead are all numbered forest service roads, and the junctions were actually well-labelled.
- There’s no cell service up there, but if you’re using Google Maps, you can actually download the map data for the area ahead of time, and the GPS in your phone will allow you to continue to view your position on the map. The downloaded maps data does includes both the simple map and the satellite images.
- There was actually a downed bridge when we went that was preventing you from taking the normal route to the trailhead. At the ranger’s station, though, they gave us a photocopy of a map with an alternate route outlined. The alternate route followed some forest service roads that aren’t in Google’s map data, but using the satellite view I was able to see the road and correlate that with the printed map to track our progress.
